Pages

Pages

Tuesday, December 31, 2024

A Year In Review ~ 2024 Favorites

Hello friends!  As we say goodbye to 2024 and prepare to welcome in the new year, I thought it would be fun to join in on the challenge at A Cut Above with "A Year In Review".
 
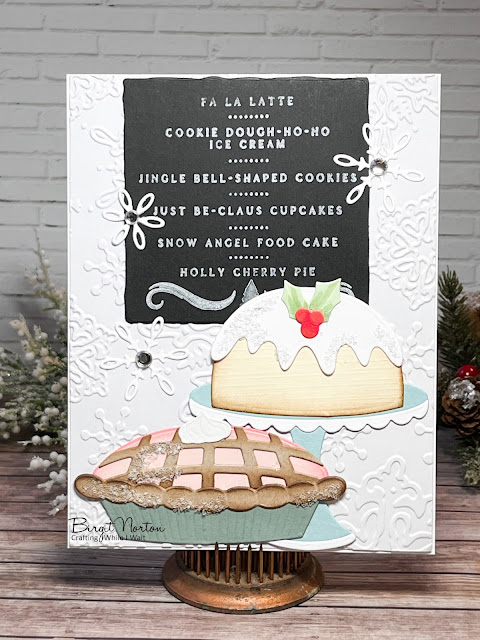
I'll jump right in with some of my favorite projects from each month, beginning with "A Little Retro Valentine Fun" in January.
 
 
 Original post found here.

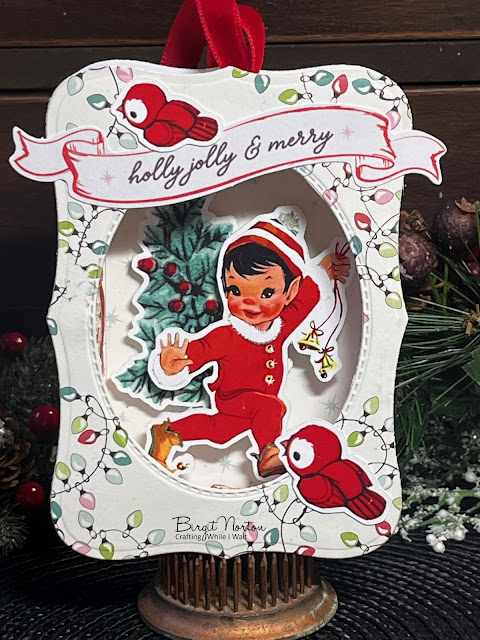
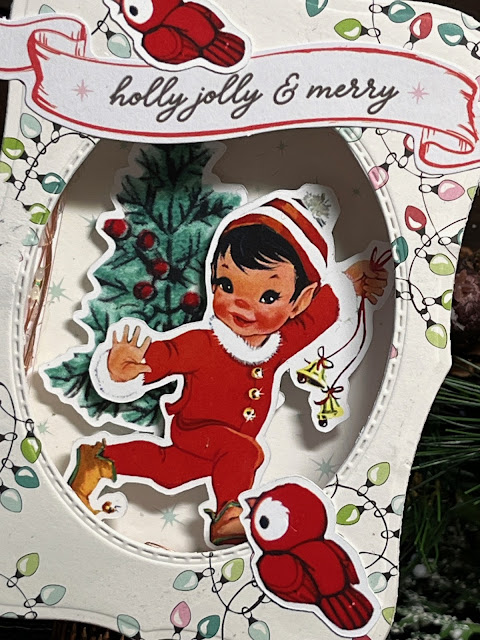
Also for January (it was a tie), a Valentine Ornament Box ~ original post found here.
 
 
 There's no question that I love making these ornament boxes.

February ~ Original post found here

March ~ Original post found here


April ~ Original post found here
 
 
May ~  Original post found here
 
 
June ~ Original post found here
 
 
July ~  Original post found here
 
 
August ~ Original post found here

 
September ~  Original post found here
 
 
October ~ Original post found here
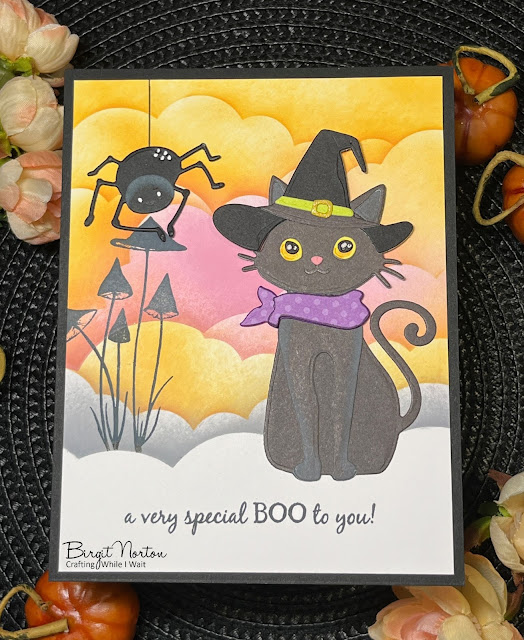
 
 
November ~ Original post found here
 
 
December ~    Original post found here 
 

Upon looking back on my favorite posts, I realize I am more than a card maker.  I love making lots of different things using paper.  Which is your favorite, and why??
 
I'll be linking this post up to A Cut Above ~ "Looking Back" 
I wish you all a safe, healthy and prosperous new year!
 
Thanks for stopping by!


Sunday, December 29, 2024

A Little Ombre for Christmas

I just happened to see that the Group of Seven Card Makers started a new challenge using "Ombre" for their design element. 
 

 It just happens that I had this card that I haven't posted, where I made an ombre background using Distress Inks.
 
I used Pine Needles, Mowed Lawn and Shabby Shutters for the ombre.
 
 
 Then I spritzed it with water and ran it through my die cutting machine with a Tim Holtz pine bough embossing folder.  I gently rubbed white pigment ink over the pine boughs and added some white splatters.

The Poinsettia and Noel is also from Tim Holtz.  I added a shadow on Noel using brown glitter paper.  This card is 100% Tim Holtz products.

I'll be adding this card to the following challenges:
Word Art Wednesday ~ Anything Goes
Cut It Up ~ Anything Goes

Thanks for stopping by!


Saturday, December 28, 2024

Gingerbread Bakery

Hello to all!  I'm going to make an attempt to get all my Christmas projects posted and clean out my photo file.  Today's offering is a trio of cards made using Papertrey Ink's Gingerbread Bakery set.

I thought the chalkboard style stamp in this set makes the perfect menu board for all these yummy treats.
 
I bought this set last year and hadn't inked it up until this season of Christmas card making.  I added a tree from their Christmas Tree Farm set and the coffee cup is from my stash.  An older die from Impression Obsession.

The woodgrain background gives these cards a natural farmhouse look.


I had an extra chalkboard sign left over, so I added it to a snowflake embossed background and added some yummy desserts.
 
 
All sugared up!  The Plum Pudding is from Elizabeth Craft Designs and the pie is from Spellbinders.  These yummy desserts make my mouth water for something sweet. 

 
I'll be entering one of these cards into the following challenges:
Word Art Wednesday ~ Anything Goes
Cut It Up ~ Anything Goes
Christmas Kickstart Challenge ~ Anything Goes Christmas
Simon Says Monday ~ Cold & Frosty

Thanks for stopping by!


Friday, December 20, 2024

Pretty Packaging

The final countdown to Christmas day has begun!  I have so many Christmas projects that I haven't shared on my blog.  I think the posts could take me well into 2025.  
 
Today's share are these cute little gift boxes that I covered.  They reminded me of my beloved pencil box that I would get each year at the beginning of the school season.  
 
I thought these would be great for holding small gifts, but for photo purposes I filled them with chocolate.  That would make a fine gift too, I suppose!
 
 
This box is decked out with the Tim Holtz snowflake, which was a new favorite die that I got to work with this year.  It comes with these delightful ice skates.  I placed them over a vellum scalloped circle to soften the underneath.

I don't know why I have such fond memories of looking forward to school shopping and finding the perfect pencil box that would travel with me throughout the school year, as I walked to and from grade school every day.  (I lived directly across the street from the primary school, so it was very convenient.)
 
 A second box was covered using more papers from Stampin' Up.  This one with woodland animals.

This box has another vellum scalloped circle, Tim Holtz Snowflake and cute little fox from CottageCutz.
 
My pencil boxes were like little treasure chests that I would keep special things in throughout the school year along with crisply sharpened pencils, a small 6" ruler, erasers and crayons.  
 
If you've stuck with me through his post, thanks for indulging me while I reminisced of days gone by.
 
I'll be entering one of these projects into the following challenges:
Word Art Wednesday ~ Anything Goes
Christmas Kickstart Challenge ~ Anything Christmas
Cut It Up ~ Use More Than One Die
A Cut Above ~ Anything Goes

Thanks for stopping by!

Wednesday, December 18, 2024

A Cozy Cupful ~ Double D Challenges

Hello friends ~ Double D Challenges is starting a new challenge and the theme is "Christmas Trees".
Quite a long time ago, my dear friend Marcia sent me this Cozy Cupful image from Power Poppy Stamps.  I colored it using prisma colored pencils, adding a bit of glossy accents to the ornament. I masked out a deckle edge rectangle and did a bit of ink blending around the edge.  

The old fashioned sentiment is from Hero Arts.  I love the vintage font!
A quick and easy CAS card to end the year with.  

Here's the lovely inspiration panel Darlene put together for you:

And here's the prize you could win when you play along at Double D Challenges.  I can't wait to see what you create!

I'll also be adding this card to the following challenges:
Word Art Wednesday ~ Anything Goes
 
Thanks for stopping by!


Thursday, December 12, 2024

Lighted Box Ornaments

Hello crafting friends!  Today's crafty share are these darling box ornaments.
 
 
You may recall that I've made several of these in past posts.  They're so fun to make and you don't need any special supplies to make them. 
I used a Spellbinders Label die to make the front and back of the box, cutting the center using an oval die.  I simply covered the inside and front of the box with patterned papers
 

and filled them with printed die cuts from Pretty Little Studio.  I also added some die cuts from Prima Marketing Candy Cane Lane collection.
 
 
This year, to spice them up, I added some fairy lights to the inside of the ornaments by punching a hole in the back of the ornament and adhering the power button onto the back side of the ornaments.  
 
These went to my two little sweeties so they could hang them on their Christmas trees.
 
This little elf went to this little elf
 
Our sweet Mr. "C" turned two years old in September. 


and this jolly old fella with pink candy canes went to our Sweet "P".
She just turned two this month.  Hubby and I flew out to celebrate her special day.
 
Oh how I love being a Mimi to them!  
 I hope you enjoyed today's project. 
I'll be entering one of these into the following challenges:
Christmas Kickstart Challenge ~ If It's Christmassy, Link It Up!
Word Art Wednesday ~ Anything Goes
 
Thanks for stopping by!