Friday, February 17, 2017

Celebrating The Past, Present & The Future with PTI

Hello friends~  We've been getting zonked with snow and power outages and I was snowed in for four days.  What else better to do than to play catch up on the anniversary celebrations going on over at PTI.  Hope you don't mind that I am posting all my cards in this one post. 
2009
I didn't have any of the sets from 2009 so I chose to use the cherries from Still Life: Summer.
I did a bit of "kissing" by covering a polka dotted background stamp in Pure Poppy ink and then "kissing" or stamping the cherries onto the background stamp, picking up the ink and then stamping them onto the coordinating die cut.  I did the same kind of stamping for the leaves.
2010
I didn't have any stamps from 2010 either so I used 
Fancy Folk Art to make this card.

2011
I finally got to a year where I had a featured stamp set.  Garden Variety!


This has been a long time favorite of mine so I made not one, but two cards!

2012
I had Embroidered Blooms from the 2012 selection and I pretty much CASEd Melissa's sweet card with just a few alterations to make it my own.

2013
For 2013, I didn't have any of the featured sets so I went back to another favorite oldie, Out On A Limb.

Thanks so much for sticking with me while I got caught up. 

I'll be entering one of these cards into the following challenges:
Simon Says Wednesday Challenge ~ Fantastic Florals
Simon Says Monday Challenge ~ Favorite Tool ~ Die Cuts
The Card Concept ~ Vintage
Word Art Wednesday ~ Anything Goes

You can find all the details about PTI's 10th Anniversary over at Nichole's Blog.  
Blessings~ Birgit


Fresh Cupcakes For Sale!

Hello~  I've got a sweet card for you today using some fun products from Elizabeth Craft Designs


How about a plate of freshly baked cupcakes from your local bakery?
I used the cake plate from Joset's Christmas Pudding, adding some color using Tim Holtz Distress inks, a silver paint pen and some Ranger Liquid Pearls.  The three Small Cupcakes were cut out of White Soft Finish Cardstock and colored using distress inks.  

I added a heavy coat of clear embossing powder over the icing and some Clear Wink of Stella on the cherry.

To create the awning, I used the straight Sliders and Spinners Die and attached them to a scrap of card stock.  I then scored it to make it look like an awning.  

You can find all the products used to make this card by clicking on the affiliate links.

I'll be adding this card to the following challenges:
Simon Says Monday Challenge ~ Favorite Tool ~ Die Cuts
Word Art Wednesday ~ Anything Goes

I'm so glad you took the time to stop in for a cupcake!  
Blessings~ Birgit


Wednesday, February 15, 2017

February Die Cut Club

Good morning friends~  I've got some fun cards up for you today using die cuts from The Die Cut Club from Green Duck Sales

This is a monthly subscription  where you will receive a variety of top quality, fully colored and embellished die cuts a month. 

Now on to my cards:


You can find all the details about The Die Cut Club HERE.  Thanks so much for stopping by!  
Blessings~ Birgit

Tuesday, February 14, 2017

Valentine's Day Paper Cake and A BIG SALE!

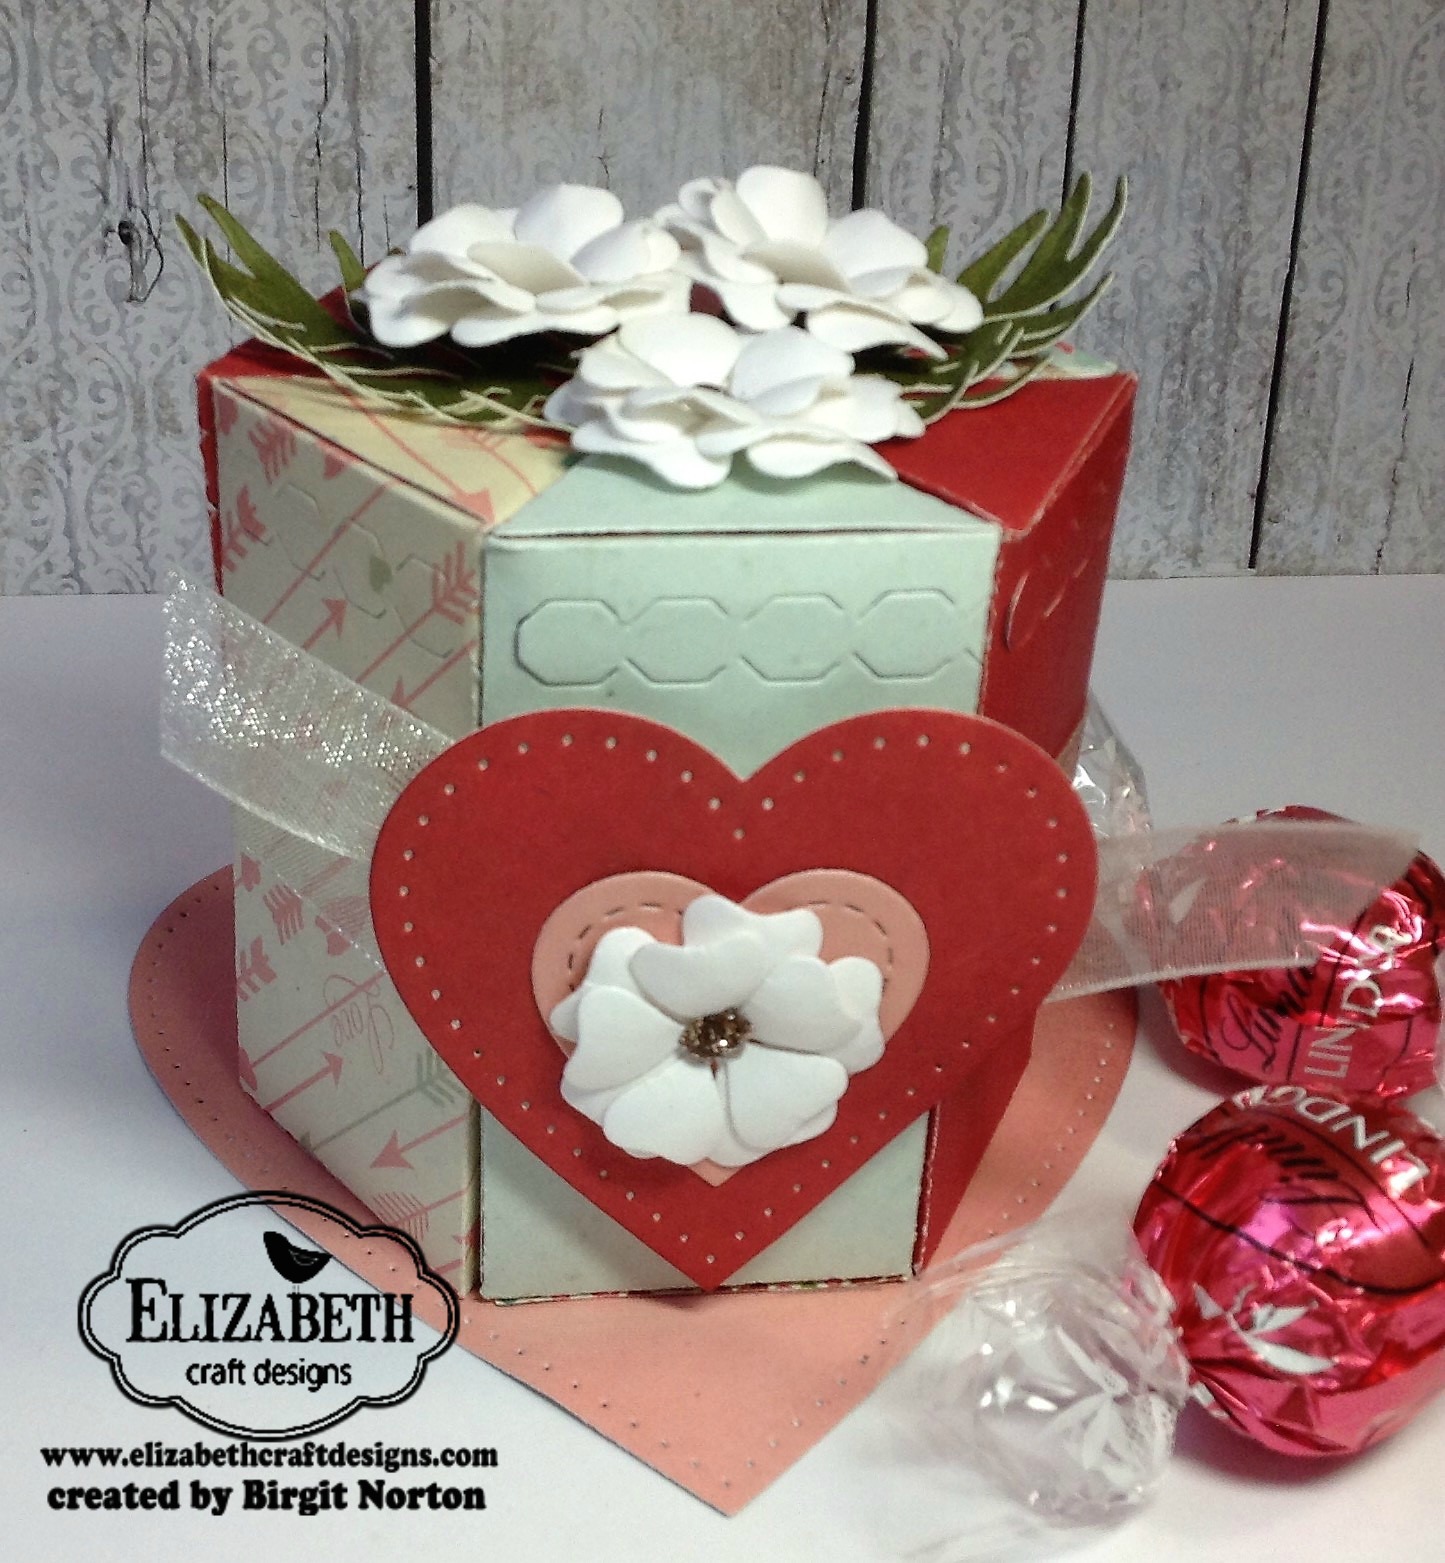
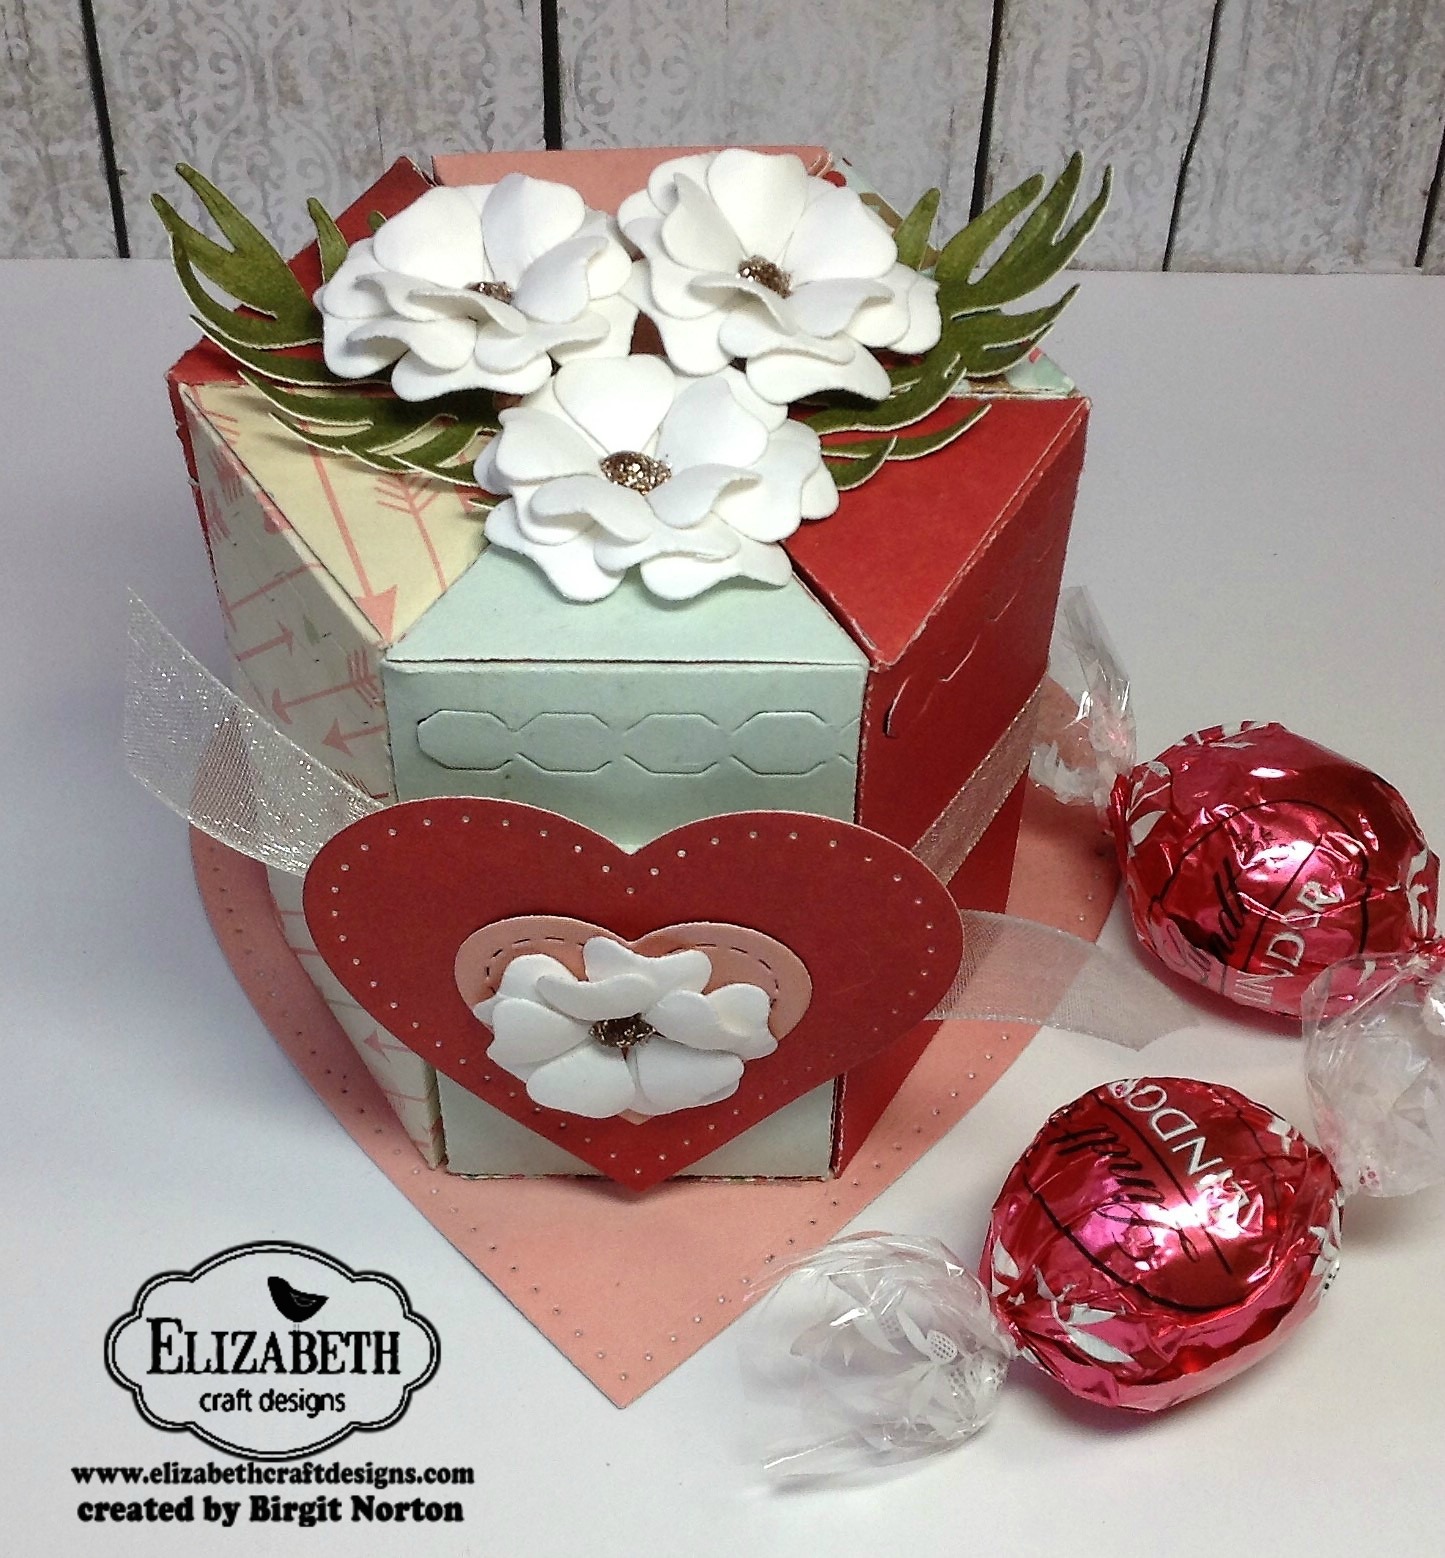
Happy Valentine's Day friends! It's my turn to post over at the Elizabeth Craft Designs blog.  I love giving treats to friends and family on special occasions such as this, so today I'll share a little Valentine's Treat Cake I made using the Triangle Treat Box.   This project can be changed up and used for any occasion, not just for Valentine's Day.


I started by cutting six Triangle Treat Boxes from a variety of coordinating papers.
Assemble each box using Clear Double Sided Adhesive, making sure to fill each box before sealing it shut. 


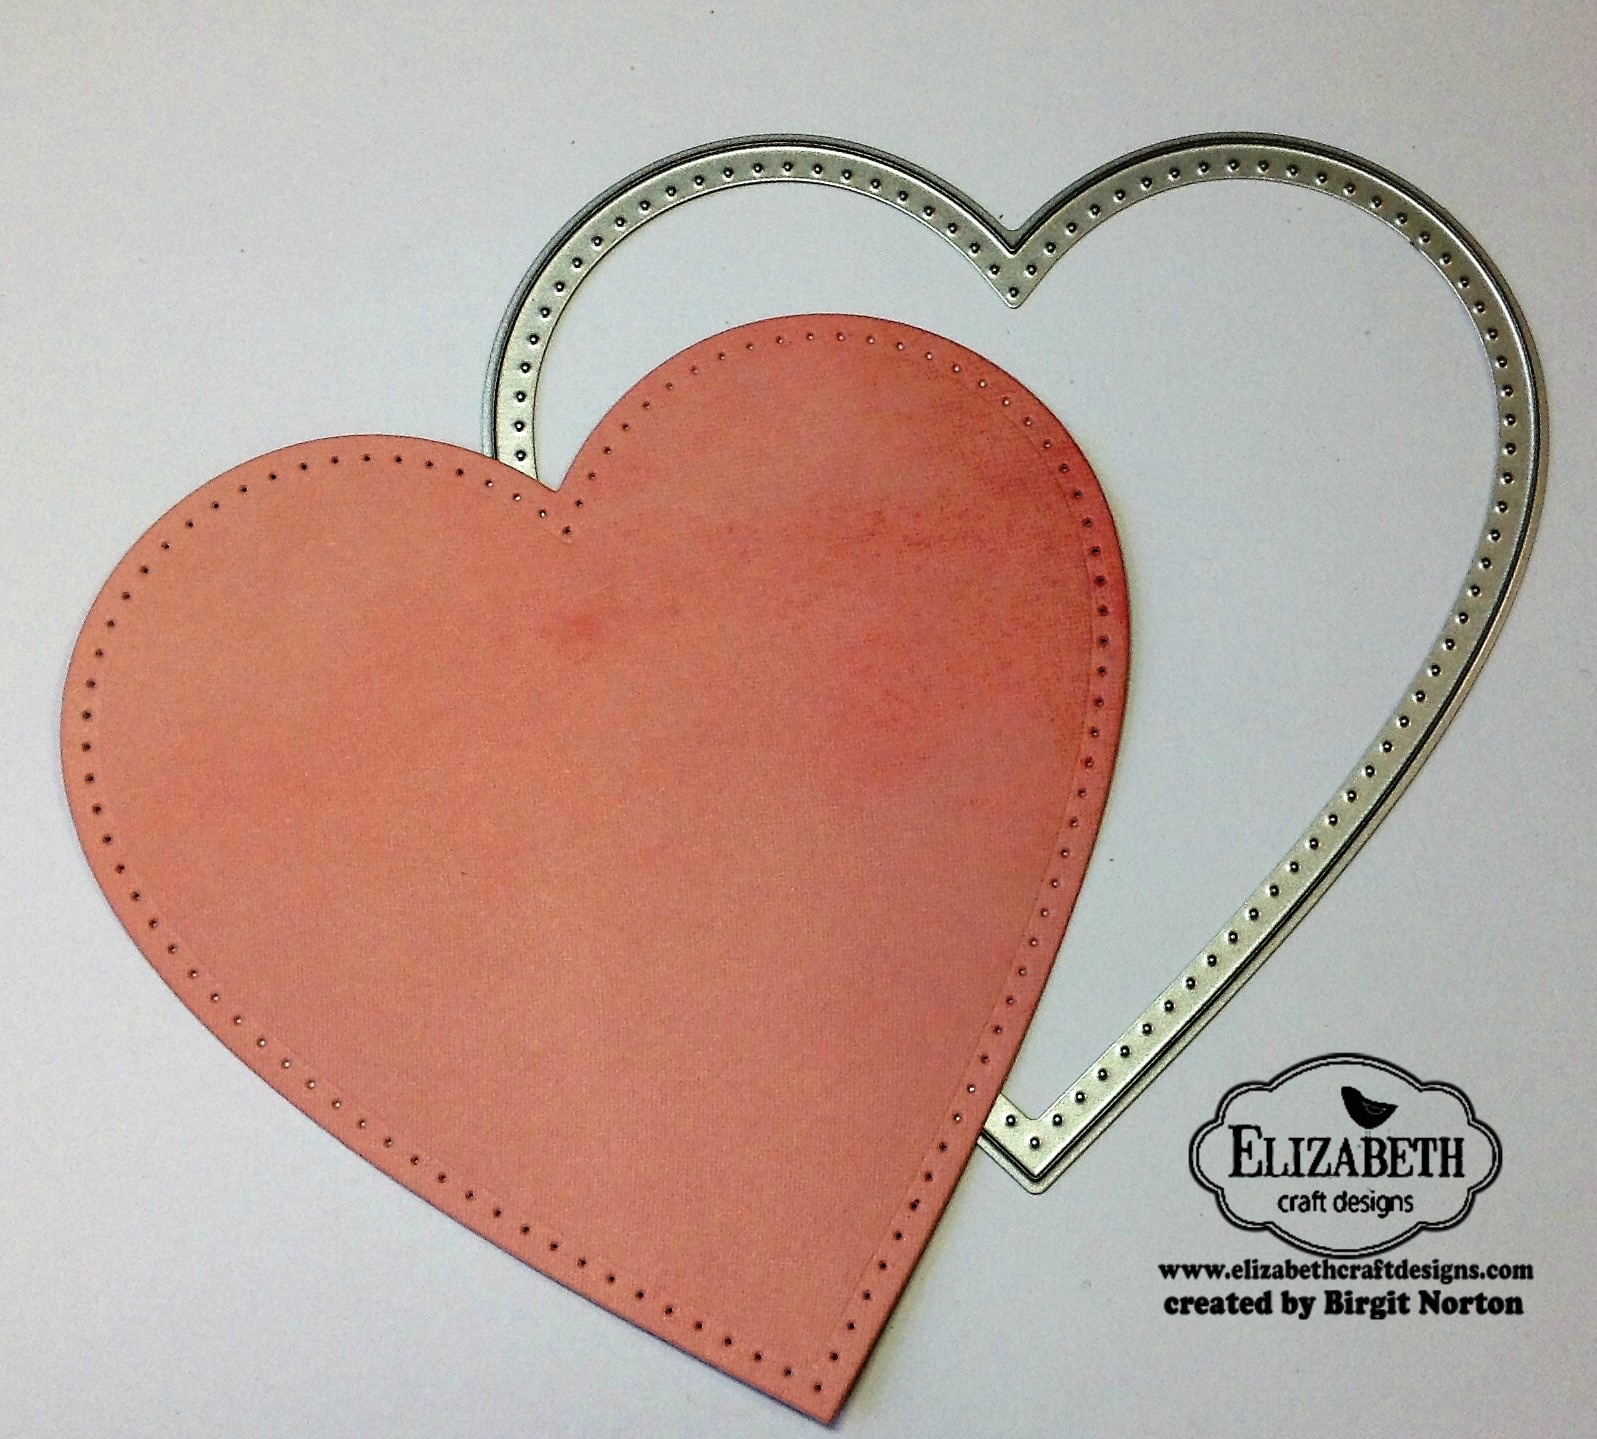
Cut a large Stitched Heart and two smaller Stitched Hearts.

Loosely create your "cake" by putting all of the boxes together; center it onto the largest heart.  Use a pencil to lightly trace the outline of the cake.  

This gives you guidelines on which to apply your Clear Double Sided Adhesive and adhere all six boxes to the heart base.


  Tie a piece of pretty ribbon around your "cake" and stack the two small hearts using foam dots to add dimension.


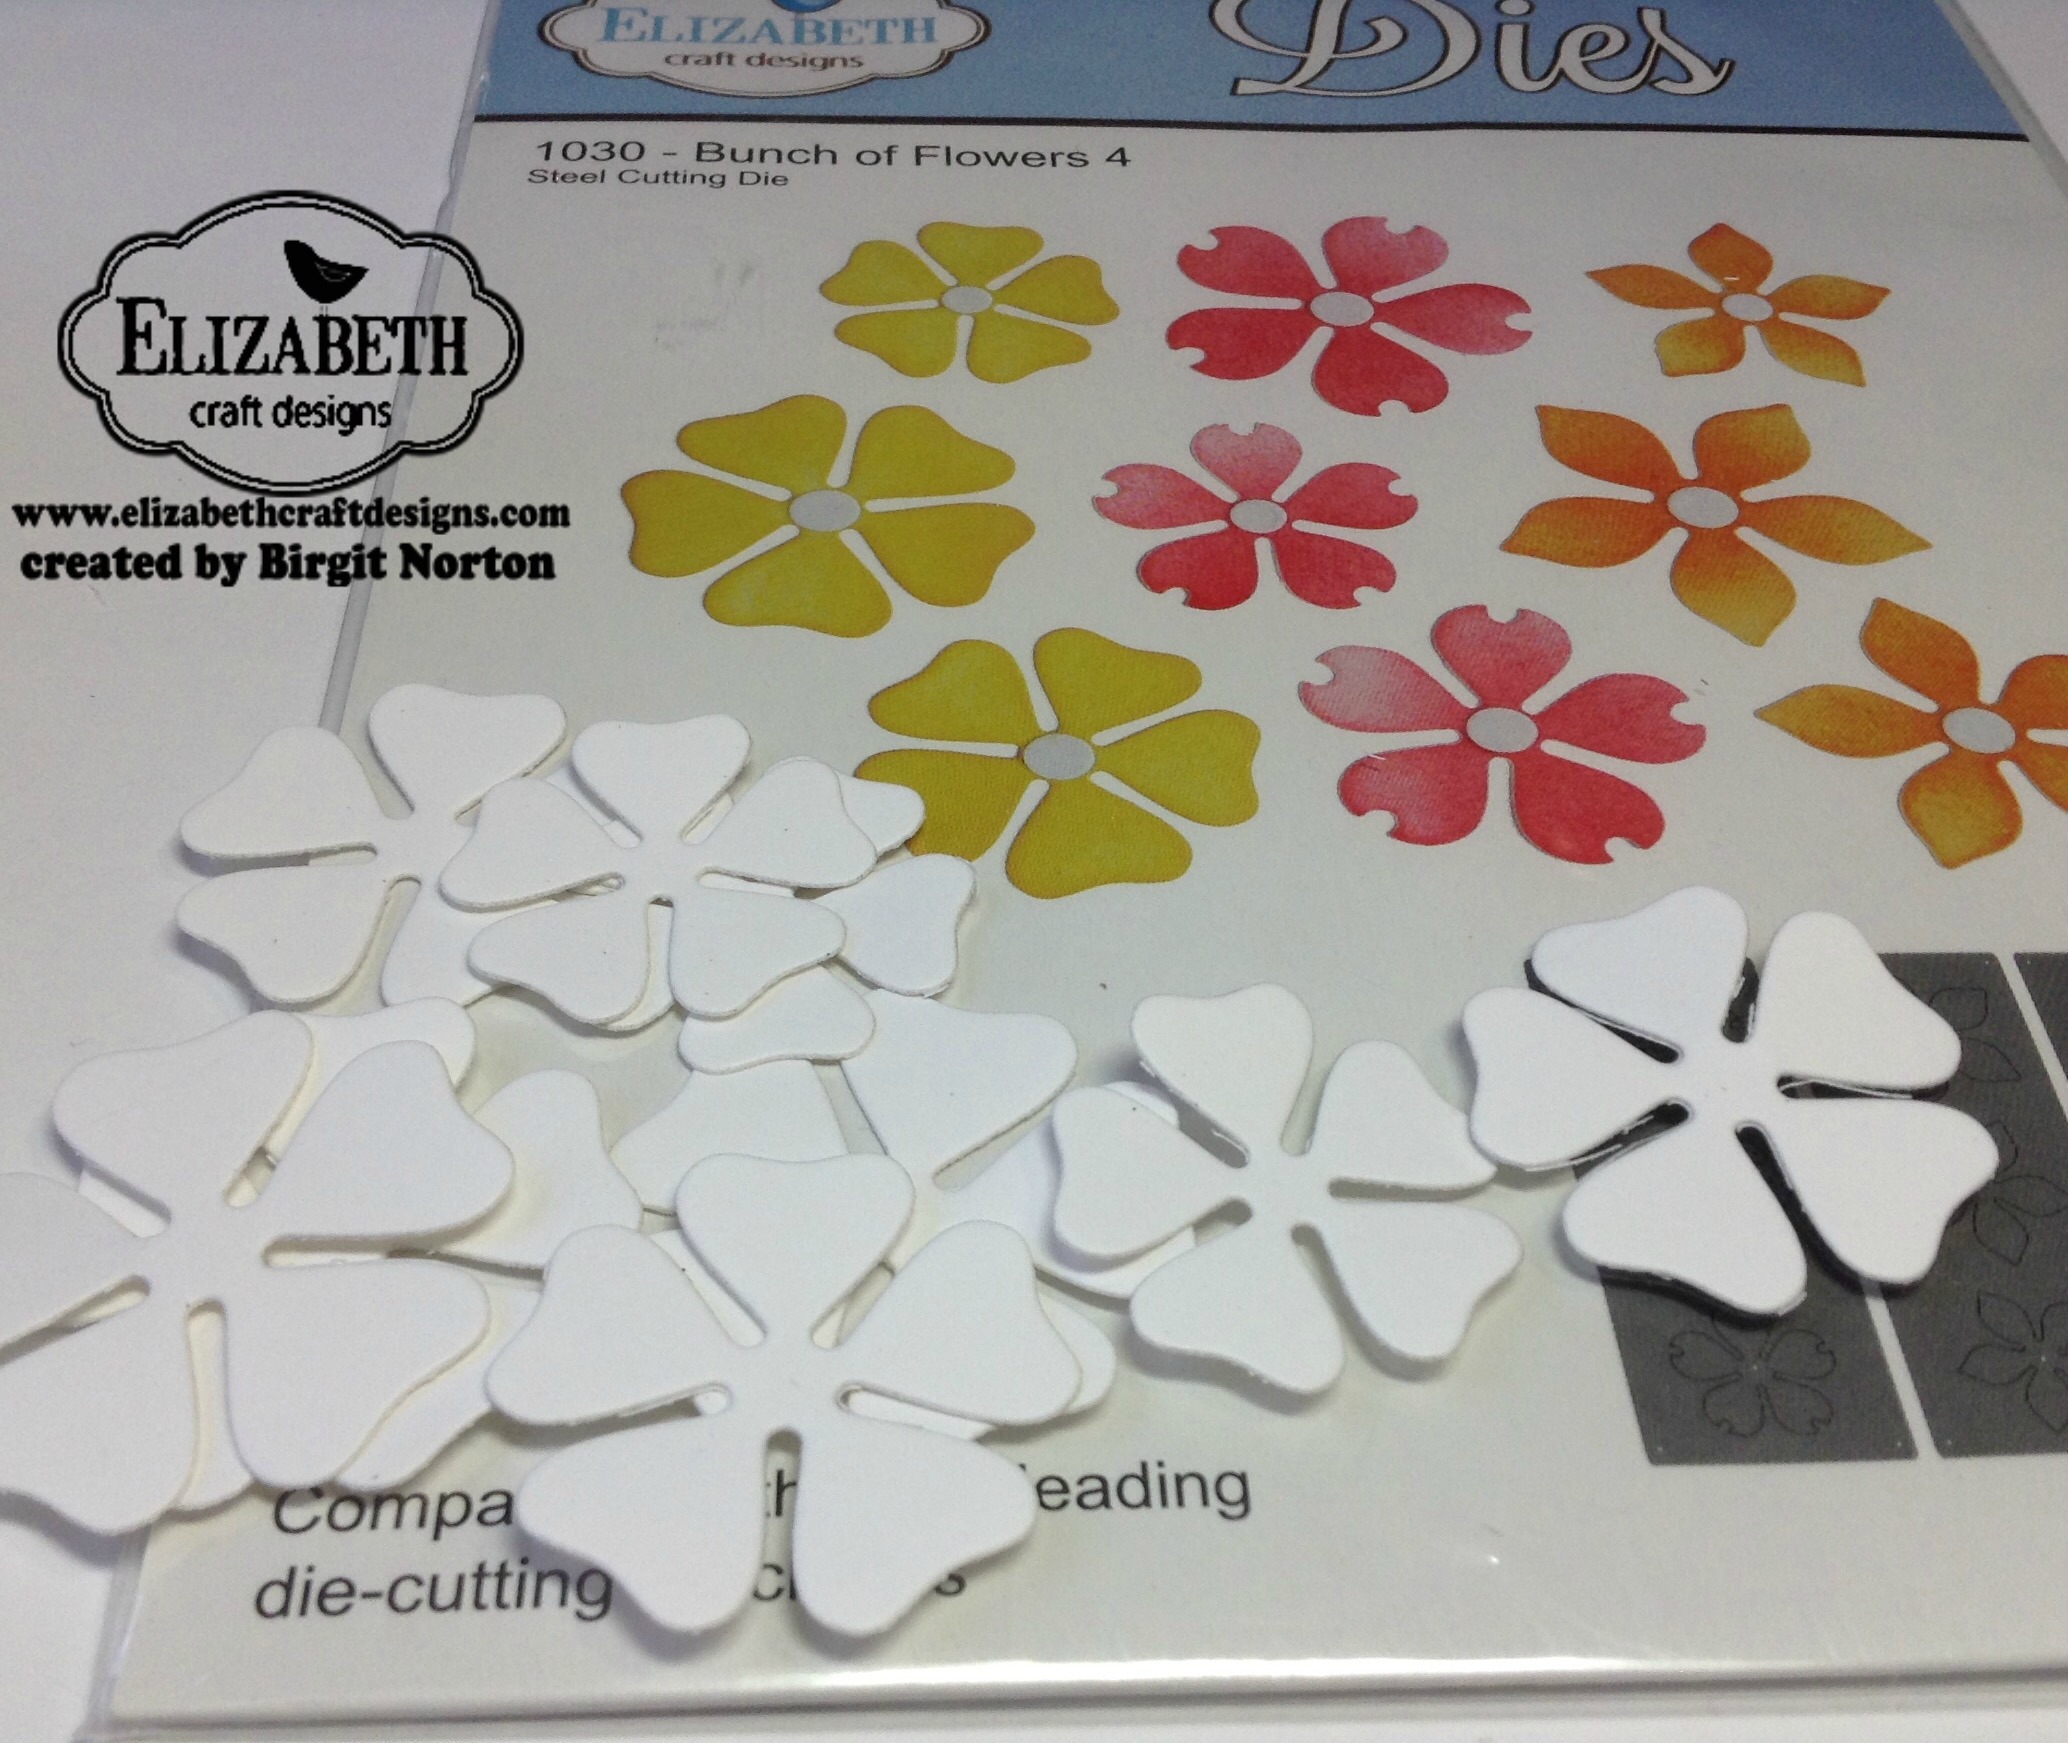
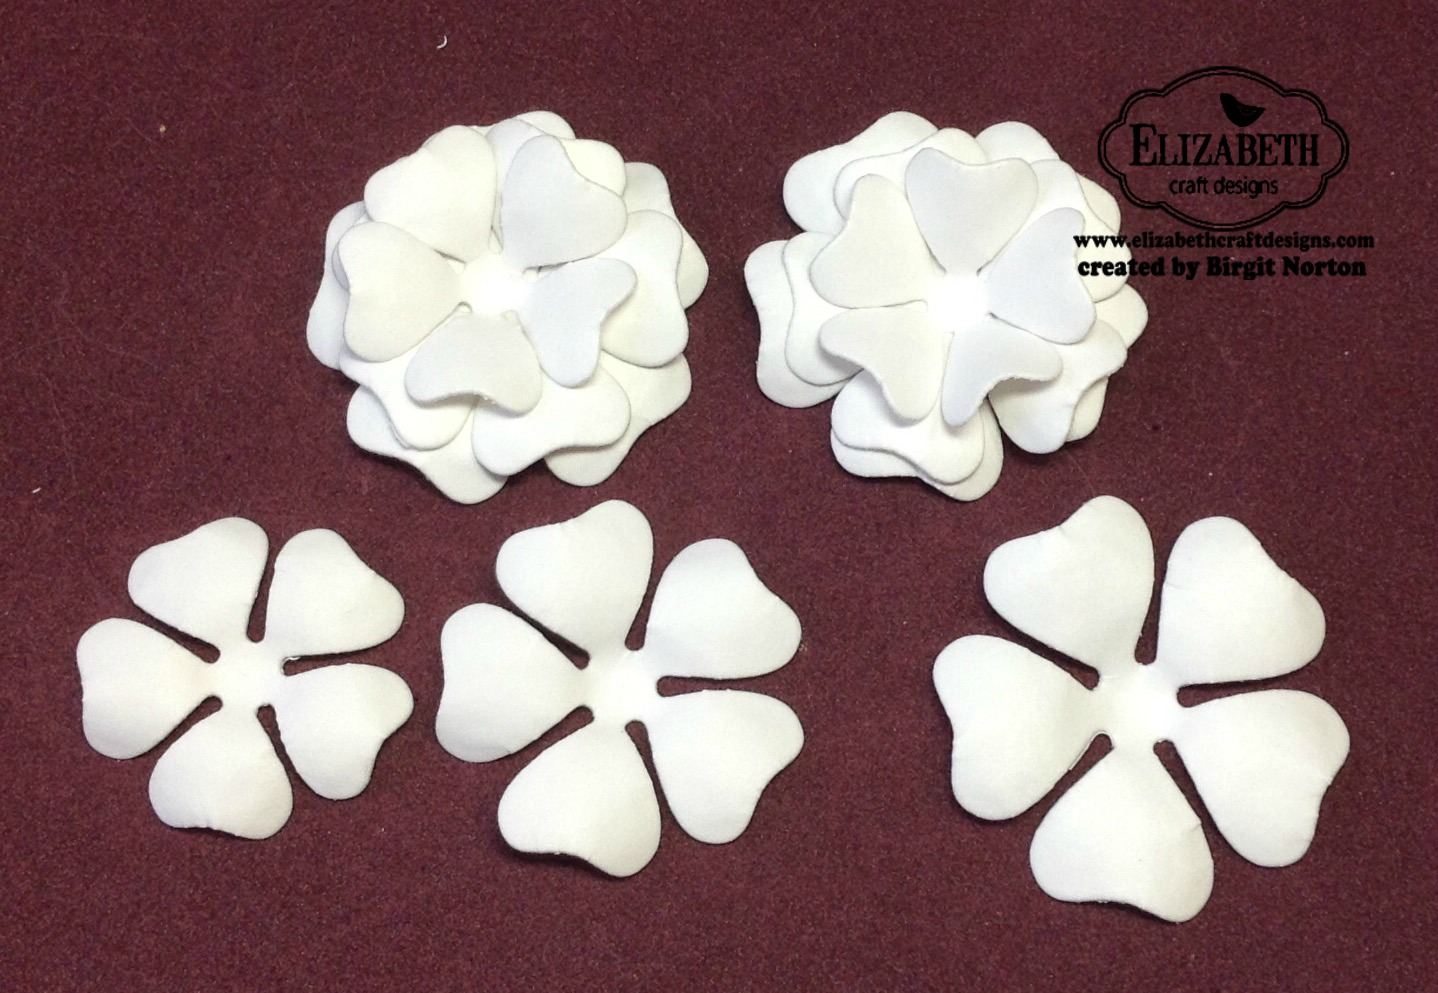
Cut four  flowers using Bunch of Flowers 4, shape them on a molding mat, and glue them together using a liquid glue.  I added some Clear Wink of Stella to the flowers to give them a little sparkle.


Cut 2 leaves using Pair of Leaves 1.  Adhere them to the top of your "cake" and embellish with flowers. 

  Add some Stickles to the centers of the flowers to finish your cake.


I hope you've been inspired to create a fun paper cake for someone special.

Supplies from Elizabeth Craft Designs:
Other Supplies:
Designer paper of choice

Oh, and didn't I mention a BIG SALE?  
Elizabeth Craft Designs if offering up to 60% off all their Valentine's items!
Click HERE to find them all.  
No coupons required!!

Thanks so much for stopping by!  Blessings~ Birgit

Happy Valentine's Day! BIG SALE!

Happy Valentine's Day to you!!  
I just thought I'd pop in this morning and share some things I made for Valentine's Day to share with friends and family.

I get together with a group of vintage loving, crafty friends every so often for a ladies craft day where we each bring supplies to make seasonal crafts.  This mini cloche was my offering last month.

I purchased the cloche's from Factory Direct.  The nice thing about this is that I can change it out for any season.  They're super cute and the ladies just loved making them!


This was one of my first projects I made for Elizabeth Craft Designs, to send to CHA.  I used the Lace Pocket, Lace Heart, Leafy Branch 2, Scalloped Hearts and Dogwood flowers.  The box fit these three battery operated candles just perfectly!

Have a small gift you want to share?  

These Star Pillow Boxes are just perfect for gifting candy or small gifts. It's adorned with the smallest heart from Stitched Hearts and an Arrow.
How about a paper cake?  Each little box contains sweet treats.  A tutorial of this project will be coming up on my blog today at noon.
This pillow is made using wool felt.  I used dies to cut out the heart and circles and stitched them on with a blanket stitch to create a sweet little pillow.

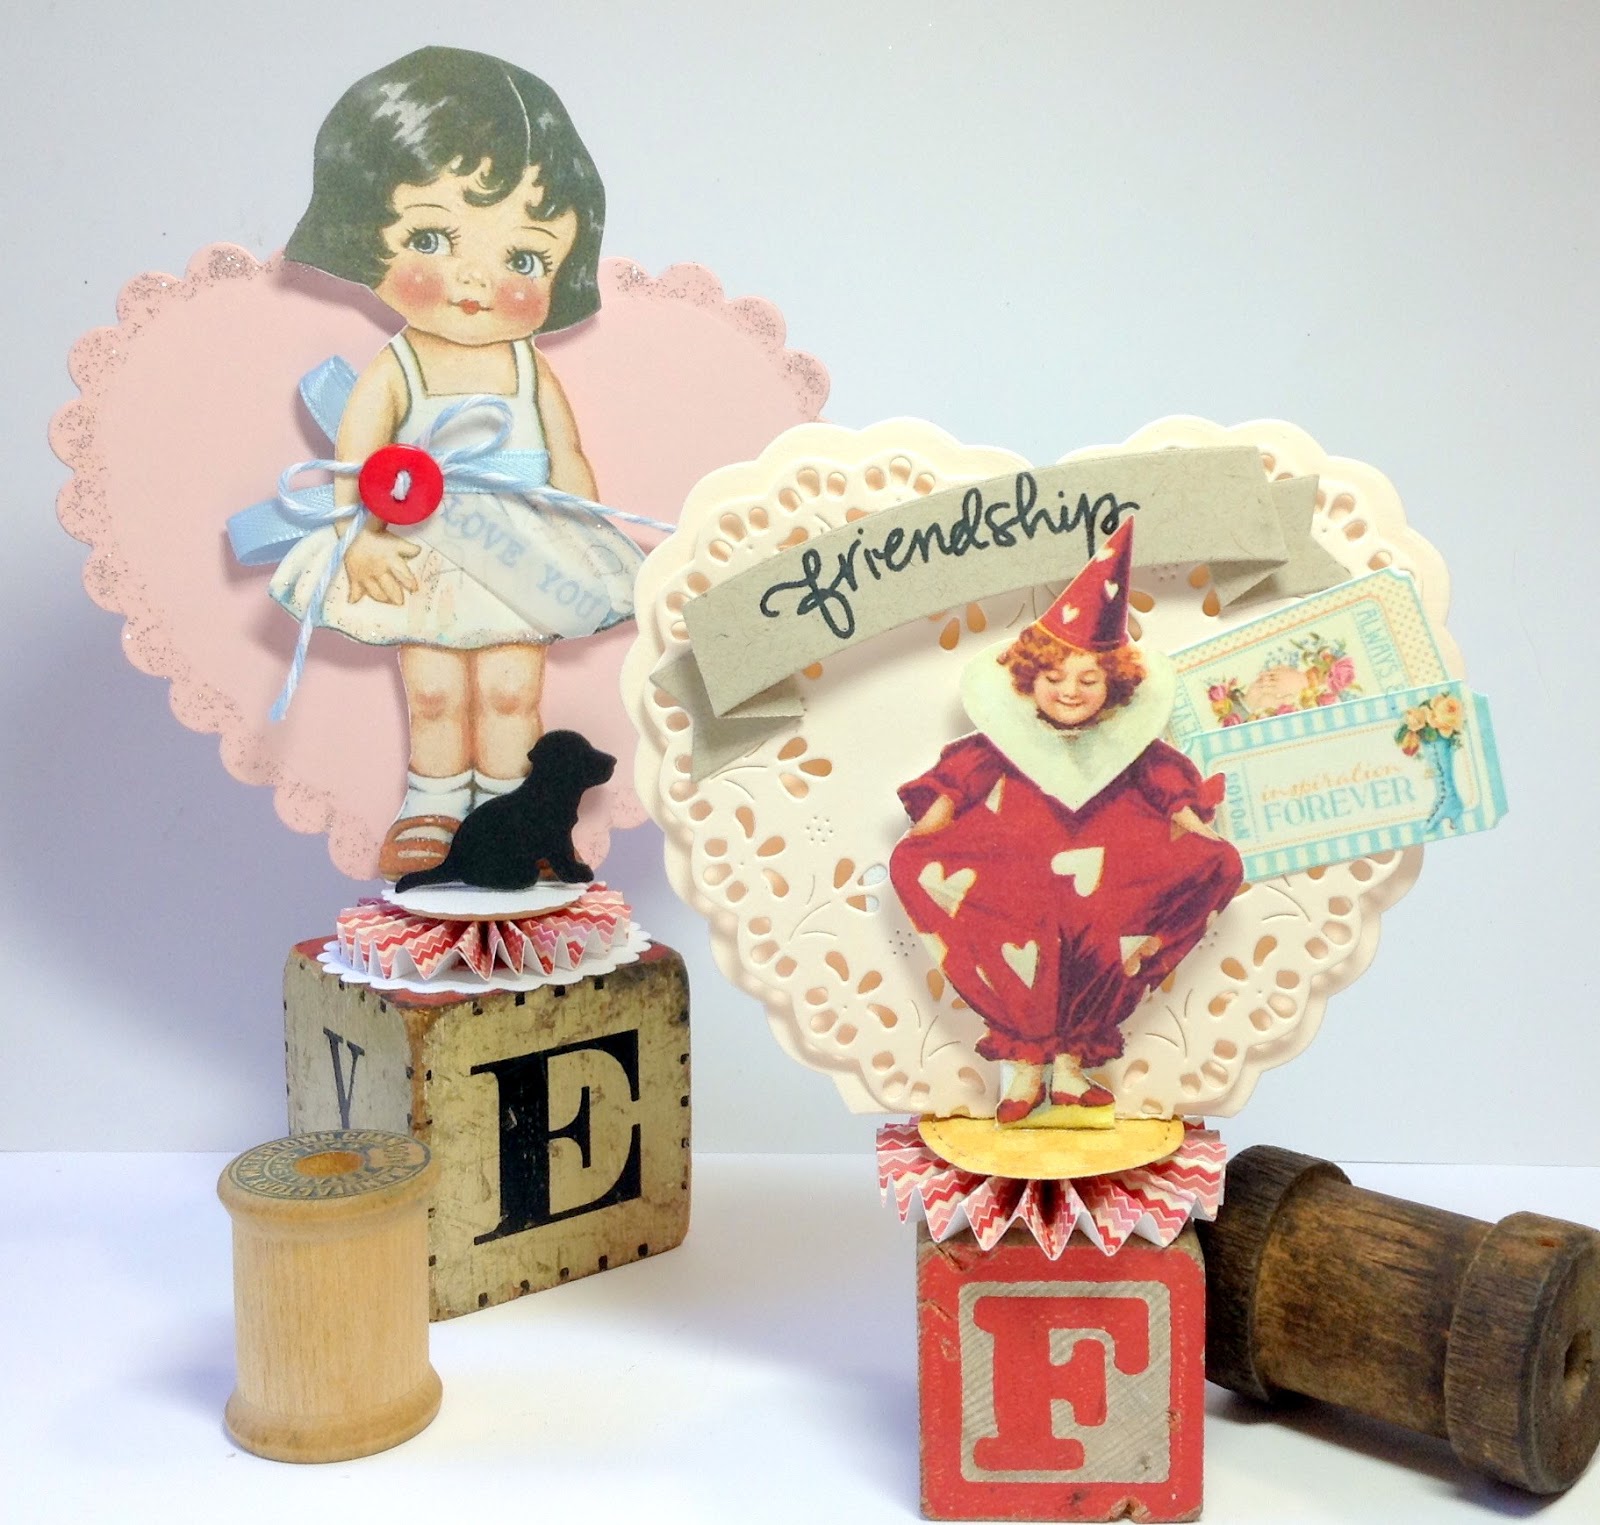
These were made last year but worth sharing again.  I was having some vintage fun using printed images, old children's blocks and dies. 

Oh, and didn't I mention a BIG SALE?  
Elizabeth Craft Designs if offering up to 60% off all their Valentine's items!
Click HERE to find them all.  
No coupons required!!

I hope your Valentine's Day is sweet!
Thanks so much for stopping by!  Blessings~ Birgit