This is my first post for 12 Kits of Occasion and I couldn't be more thrilled to be joining this amazing team of talented ladies!
A funny story: When I first found the 12 Kits of Occasion blog (about 2 years ago), I didn't realize that it was a group of friends that shared making kits for each other each month throughout the year. Not knowing that, I e-mailed someone and asked them where I could sign up to receive their kits and I was surprised to discover that they weren't for sale! Now here I am, blessed to be part of their team... God is so good and just full of surprises!
The first kit of the year is from Lindsey of Occasional Crafting and she put together such a wonderful kit filled with super fun goodies! It's called "A Fresh Start to the New Year". The colors are fresh and inspiring!!

We're also happy to have two guest designers this month. Kathy McCluskey from Bdlakebum Stamps and Leigh Penner from To the Full so be sure to visit their blogs and leave them some love.
Almost everything in the kit was new to me so it was fun playing with products I didn't have.
Let's get right on to my cards:


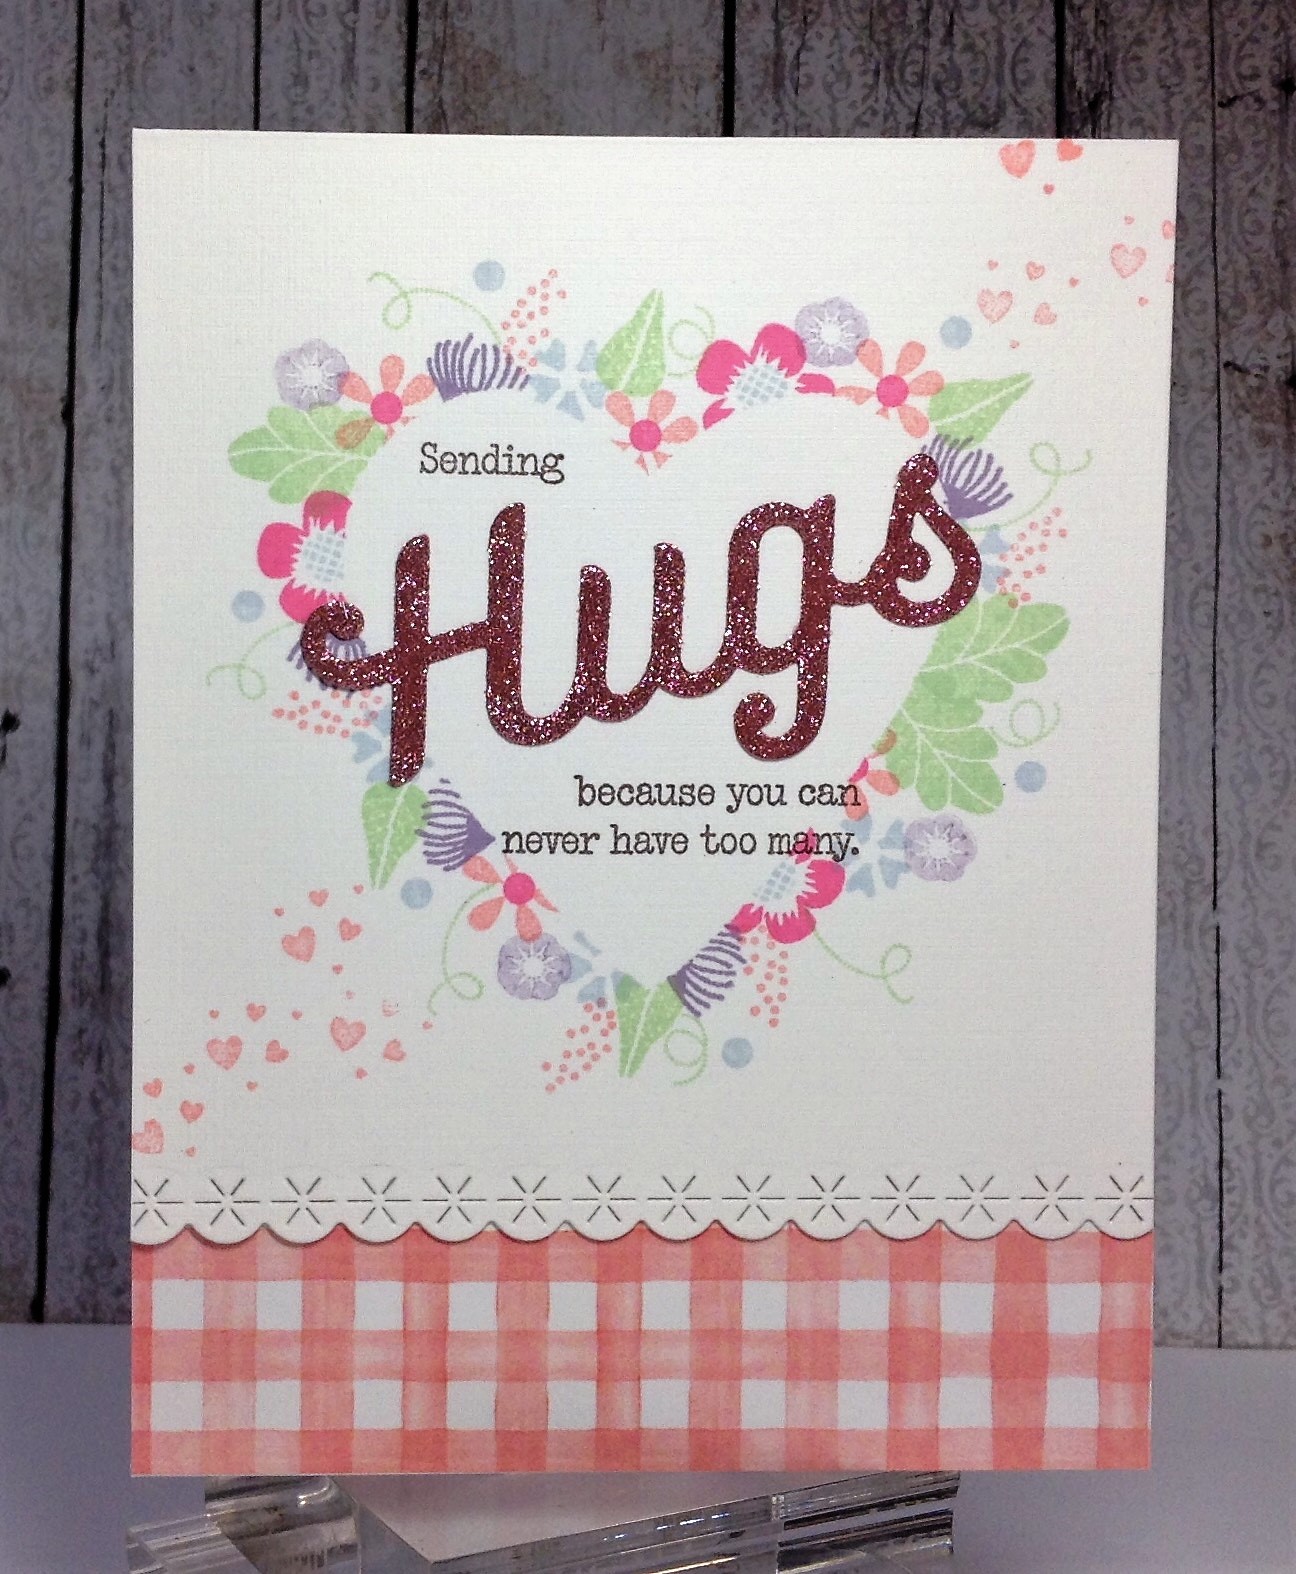
 This was another quick and simple card since everything was right there in the kit. I loved the color and shimmer of the die cut sentiment. I need to remember to ask Lindsey where that is from...


Lindsey, thanks so much for an amazing kit! Even after making all these cards, I still have supplies left over to make more cards.
I can't thank all the amazing gals from 12 kits for this super amazing opportunity to join them! I really enjoyed this kit from Lindsey!! Now pop on over to The 12 Kits of Occasions blog to see all the other designers wonderful cards. I just know they'll knock your socks off as they always have mine. ;0) Be sure to leave a comment while you're there too because Jeanne Jachna is giving away two of her amazing kits!
We're also happy to have two guest designers this month. Kathy McCluskey from Bdlakebum Stamps and Leigh Penner from To the Full so be sure to visit their blogs and leave them some love.
Almost everything in the kit was new to me so it was fun playing with products I didn't have.
Let's get right on to my cards:

I loved this sentiment embossed in gold that Lindsey had already cut into this sweet scalloped panel! All I did to this card was stamp a striped pattern on the left side of the card stock and add a tiny strip of black paper shimmered up with black Wink of Stella. The floral spray is so fun colored with Copics!!

Lindsey included this cool resist patterned paper in the kit. I sprayed some Heidi Swapp shimmer spray on to the panel and cut it using a pierced rectangle. She stamped this fun cake onto water color card stock so I got to have a little practice time using the Zigs. The sentiment is from the kit and I cut it using a stitched banner from ECD and tied it off with a bit of the twine that she also included in the kit.

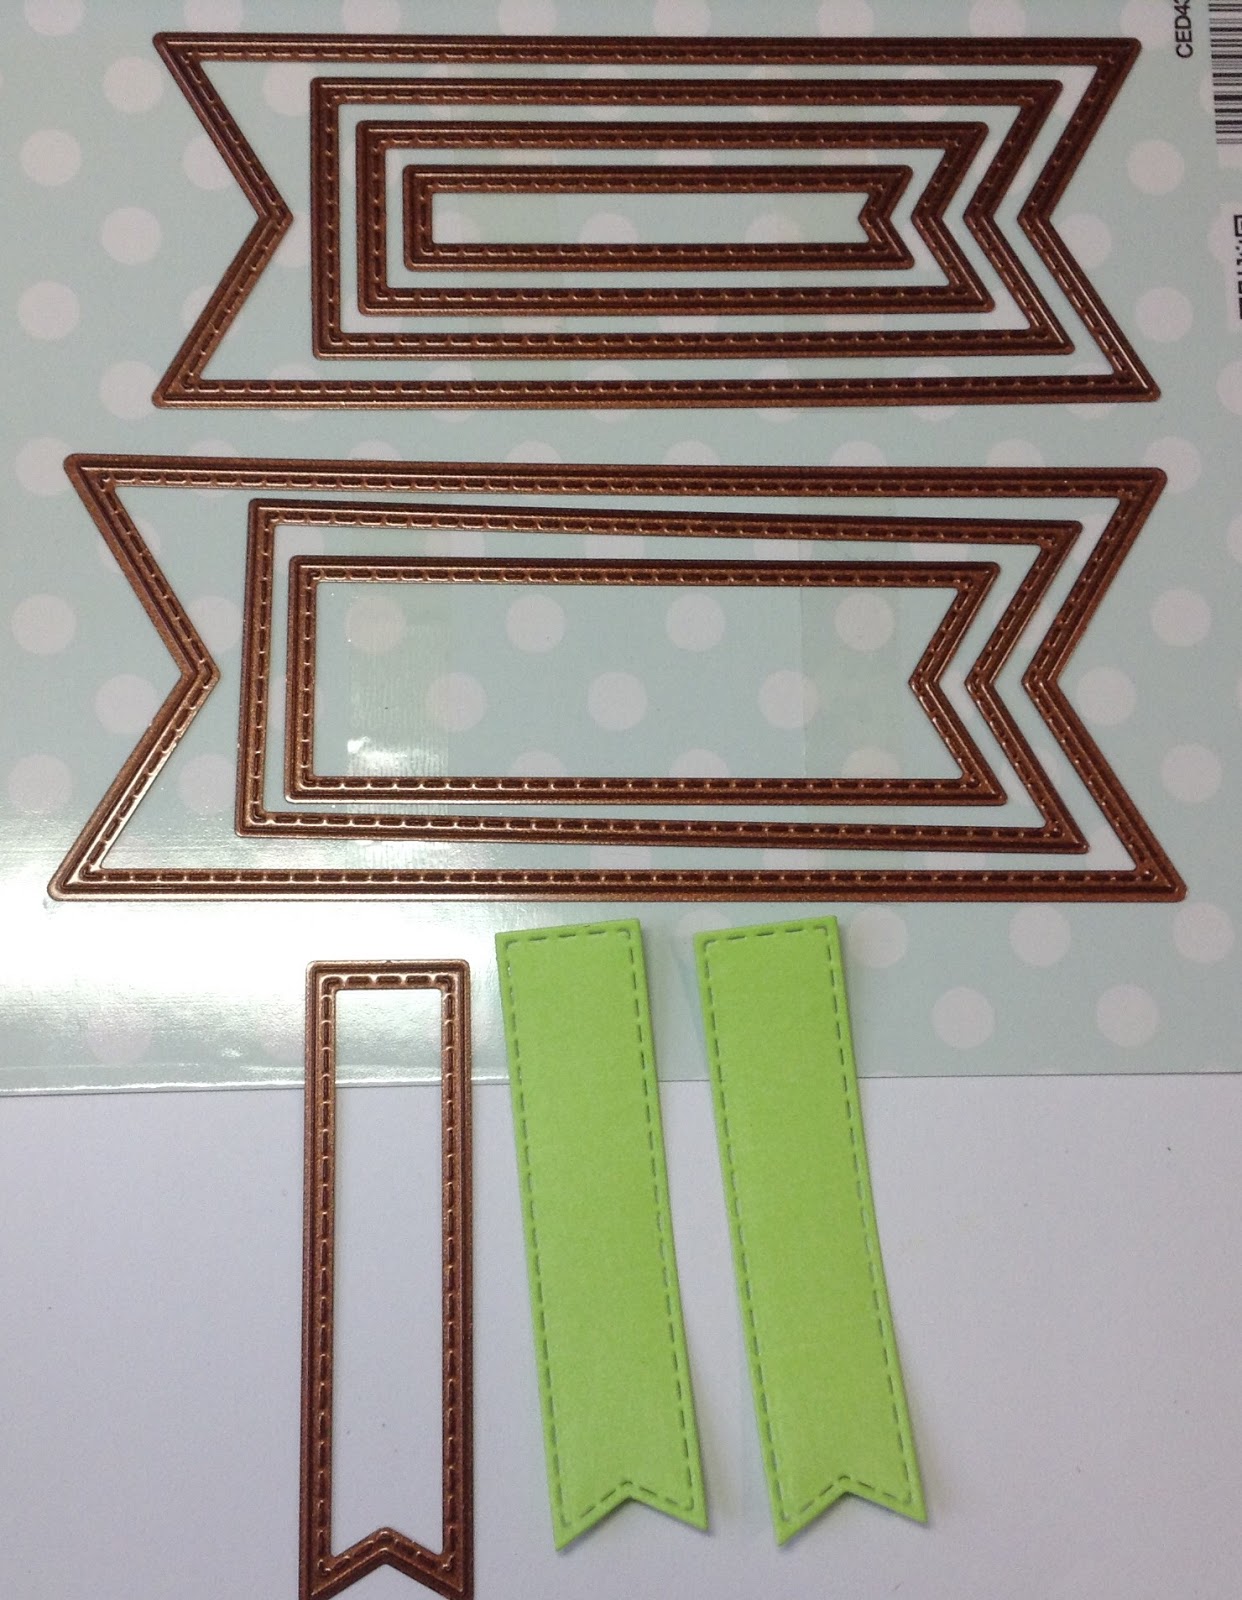
This card was the quickest card I think I've ever made. Everything was included in the kit. I especially like the fun pinked edge on the sentiment banner!

I love treat boxes and Lindsey included this fun little polka dotted beauty along with the pineapples.

A cute punch out bow and pre-stamped tag. The box is tied off with more twine from the kit. So cute!!

This was actually the first card I made. The inverted scalloped circle on the card stock panel was just meant to be a shaker card! Lindsey must have planned that's what we'd use it for as she included all the shaker elements in the kit as well. So fun! I discovered that I missed a sequin so I glued it to the top of this sweet little heart from the kit. More fun twine!!

Unfortunately during the process of making my cards, I was in need of a sympathy card so this image that Lindsey embossed in white made a heartfelt card for a friend of mine from Bible study, who just lost her husband. I water colored the image using my Zigs again and the sentiment is from my own collection, embossed in copper on a vellum banner. I added a stitched frame from Frantic Stamper over the top as well.


Is this fox ever cute! I simply colored him up using Copics and cut him out using a stitched octagon, layered with another stitched octagon in soft blue. The sentiment was included in the kit and I think it's just perfect for this little guy!

I had this Z-Fold card base sitting on my desk just waiting to be used. Perfect!!
Lindsey, thanks so much for an amazing kit! Even after making all these cards, I still have supplies left over to make more cards.
I can't thank all the amazing gals from 12 kits for this super amazing opportunity to join them! I really enjoyed this kit from Lindsey!! Now pop on over to The 12 Kits of Occasions blog to see all the other designers wonderful cards. I just know they'll knock your socks off as they always have mine. ;0) Be sure to leave a comment while you're there too because Jeanne Jachna is giving away two of her amazing kits!
ETA: I'll be adding one of these cards to the following challenges:
Simon Says Wednesday Challenge
Simon Says Monday Challenge
Darnell's NBUS Challenge #10
Use Your Stuff
Word Art Wednesday
Crop Stop! January Linky Party ~ Using Zigs
Simon Says Wednesday Challenge
Simon Says Monday Challenge
Darnell's NBUS Challenge #10
Use Your Stuff
Word Art Wednesday
Crop Stop! January Linky Party ~ Using Zigs
Thanks so much for stopping by! Blessings~ Birgit